Replacing garage door is a major investment that impacts your home’s security, curb appeal, energy efficiency, and day-to-day convenience. At Crockett Garage Doors Co., we’ve seen firsthand how a well-installed new garage door can transform a property. Recently, a homeowner in Spring, TX, contacted us after replacing their old, warped steel garage door with a beautifully insulated modern option. But within a week, their garage door opener stopped responding. The culprit? Incompatibility with their outdated Chamberlain garage door system, and no backup battery in place for power outages. This scenario is more common than you’d think and completely avoidable with the right post-replacement checklist.
Research shows that garage door replacement can yield up to a 94% return on investment, especially when it includes modern upgrades like foam insulation, smart garage door openers, and stylish panel designs. But your new garage door installation is only as good as the follow-up. If you ignore small signs like crooked door panels, squeaky springs, or a lagging opener, you may find yourself paying for costly repairs down the road.
If you’ve just finished the garage door replacement process, whether it’s your old house in Liberty, TX, this comprehensive guide will walk you through each step of what to look for after the job is done. We’ll cover everything from door springs to insulation value, so you’re confident your door will function safely, efficiently, and smoothly for years to come.
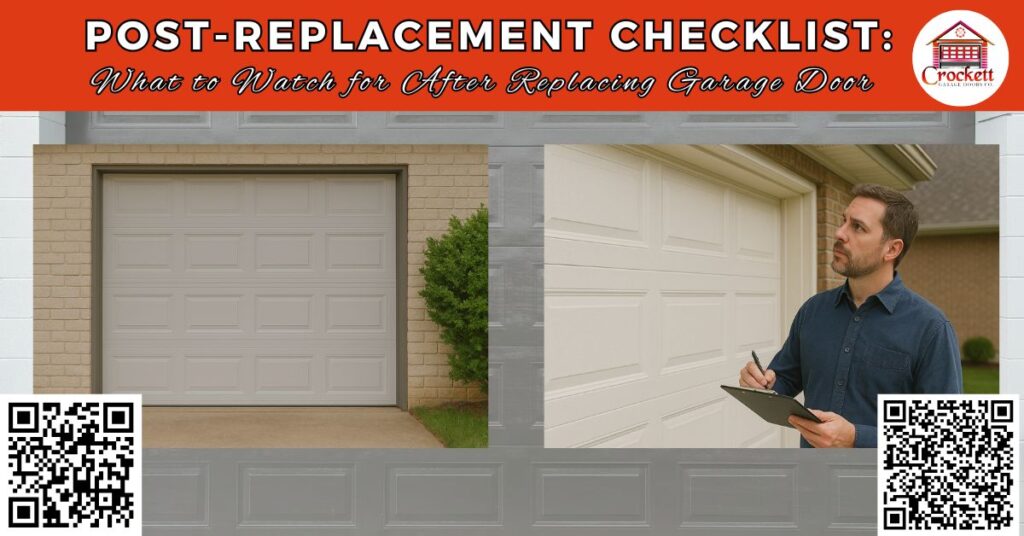
1. Visual Inspection: Does Everything Look Right?
Your first step after a garage door replacement should be a detailed visual inspection. Walk around the door and check for:
- Proper alignment of all panels, from the first panel at the bottom to the top.
- Straight, undamaged tracks are mounted securely to the walls and ceiling.
- Flush fit along the frame, no gaps that could impact insulation or security.
- Tightened hardware, including hinges, brackets, and bolts.
- Securely attached torsion springs or extension springs.
- Fully intact weather stripping on the bottom panel and sides to maintain energy efficiency.
Poor installation can leave visible defects that not only ruin your garage’s appearance but also create serious risks like sagging door panels or uneven stress on the torsion spring system.
Tip: Take photos of your door right after installation. This gives you a frame of reference if any issues arise later.
2. Smooth Operation: How Does It Move?
A quality garage door system should offer smooth operation from the first open to the thousandth. It should glide effortlessly along the track, powered by the garage door opener with minimal noise or resistance.
Check for:
- Unusual jerking, delays, or stuttering as the door opens or closes.
- Grinding or squeaking noises, which may indicate dry rollers, hinges, or misaligned tracks.
- A door that feels unbalanced when operated manually is often a sign of incorrect spring tension.
To test:
- Disconnect the garage door opener.
- Manually lift the door halfway and let go.
- A properly installed spring system will hold the door in place. If it drops or flies up, the torsion spring or extension spring needs adjustment.
Pro tip: Avoid making spring adjustments yourself. These components store high tension and can cause injury without the proper tools and safety procedures.
3. Safety Features: Are They Working?
Today’s garage doors are required to have safety systems in place to prevent accidents and injuries. These include photo-eye sensors, auto-reverse mechanisms, and emergency releases.

Verify these features:
- Photo-eye sensors should be placed no more than 6 inches from the ground on each side of the garage door track. Test by interrupting the sensor beam while the door is closing, it should reverse instantly.
- For the auto-reverse system, place a small object (like a 2×4 block) under the bottom panel and close the door. Upon contact, the door should reverse.
- Check the emergency pull cord to ensure the garage door opener can be disengaged manually in case of a power outage.
Smart features like Amazon Alexa, smartphone controls, or Wi-Fi-connected systems should also be tested to ensure proper syncing and remote functionality.
4. Weather Sealing: Is Your Garage Protected?
After a door replacement, it’s crucial to check the insulation and weatherproofing components. These small details have a big effect on your home’s energy efficiency, garage R-value, and comfort level.
Here’s what to look for:
- Rubber seals or vinyl weatherstripping at the bottom and sides of the door.
- Foam or steel-core insulated panels to keep out heat in summer and cold in winter.
- No visible daylight enters when the door is closed.
- A tight seal between each panel and the garage frame.
Garage insulation not only reduces your energy bills but also protects stored items and improves soundproofing.
Recommendation: Choose doors with a high insulation value (R-12 or higher) if you use your garage as a workspace or have living space above it.
5. Garage Door Opener Compatibility
Many homeowners upgrade their garage doors but overlook the garage door opener, causing delays, strange noises, or even total system failure. If your opener is more than 7–10 years old, it may not be compatible with heavier or insulated steel doors.
Check for:
- Delayed response or weak motor sounds.
- Remote or keypad controls that don’t sync properly.
- No backup battery or smartphone integration.
- Missing safety sensors or a lack of rolling-code security.
Modern LiftMaster garage door openers or Chamberlain systems often include wi-fi, LED lighting, battery backup, and quiet belt-drive systems, ideal upgrades if you’re replacing a noisy, outdated chain-drive opener.
6. Lubrication: Are Moving Parts Properly Maintained?
Even with a brand-new garage door, ongoing maintenance is key. That starts with proper lubrication of moving parts.
You’ll want to lubricate:
- Hinges, rollers, and bearings using a silicone or lithium-based lubricant.
- Torsion springs are used to minimize squeaking and maintain smooth operation.
- The garage door track to prevent sticking and binding.

This should be done every 6 months. Without this, even a top-tier door can develop wear and tear that leads to costly repairs.
Safety tip: Never use WD-40 or grease. These attract dirt and can cause further problems.
7. Documentation and Warranty
Your garage door replacement should come with proper documentation. This protects your investment and supports any future claims or repairs.
Make sure you receive:
- Warranty information for the door, opener, and individual parts (like springs, panels, and motor).
- A maintenance guide specific to your door’s material (e.g., steel, wood, glass).
- manufacturer’s instructions for features like smart garage systems or insulation maintenance.
Keep digital and printed copies in a safe place, especially if you’re planning to sell your home in the future.
8. Follow-Up Inspection
The final step in the replacement process is to schedule a 30- to 60-day follow-up inspection. This helps detect early signs of failure and allows for any necessary adjustments.
What’s included in a follow-up?
- Tightening of bolts, brackets, and hinges.
- Retesting of safety sensors, openers, and remote access.
- Spring tension checks and lubrication.
- Review of weatherstripping and insulation performance.
At Crockett Garage Doors Co., our follow-ups are part of our commitment to customer satisfaction. We make sure every door we install performs flawlessly long after we leave.
How Can Crockett Garage Doors Co. Help You?
At Crockett Garage Doors Co., we’re more than just a garage door company; we’re your neighbors in Spring, TX. Whether you’re replacing an old door, upgrading to a new insulated model, or adding smart garage features, we make sure the job is done right from the first panel to the final test.
We offer:
- High-quality materials, including steel, glass, and insulated panels.
- Advanced garage door openers with smartphone control, backup power, and Amazon Alexa compatibility.
- Expertise in all types of garage door springs, including torsion and extension models.
- Professional installation, detailed follow-up, and ongoing maintenance services to help you avoid costly repairs.
📍 Visit us: Crockett St, Liberty, TX 77575, United States
📞 Call us: (936) 220-4033
🌐 Let us take the stress out of your garage door needs. Whether it’s for your home, business, or rental property, our trained team is here to help every step of the way.
Choose Crockett Garage Doors Co., where safety, reliability, and satisfaction come standard.
FAQs About Replacing Garage Door
1. How long does a new garage door typically last after replacement?
A well-maintained garage door can last 15 to 30 years, depending on the material, usage, and local weather conditions.
2. Is it necessary to replace the garage door opener when installing a new garage door?
Not always, but it’s recommended if your existing opener is over 10 years old or incompatible with modern safety or smart features.
3. How much time does a garage door replacement usually take?
A standard garage door replacement typically takes 3 to 6 hours, depending on the complexity and size of the system.
4. Will replacing my garage door lower my energy bills?
Yes, especially if you install an insulated garage door, which helps maintain indoor temperatures and improves energy efficiency.